How to Inventory a Garage Full of Tools and Equipment
A practical way to document garage tools and equipment so you can find and review the details later.
- MovingBox Team
- 5 minute read
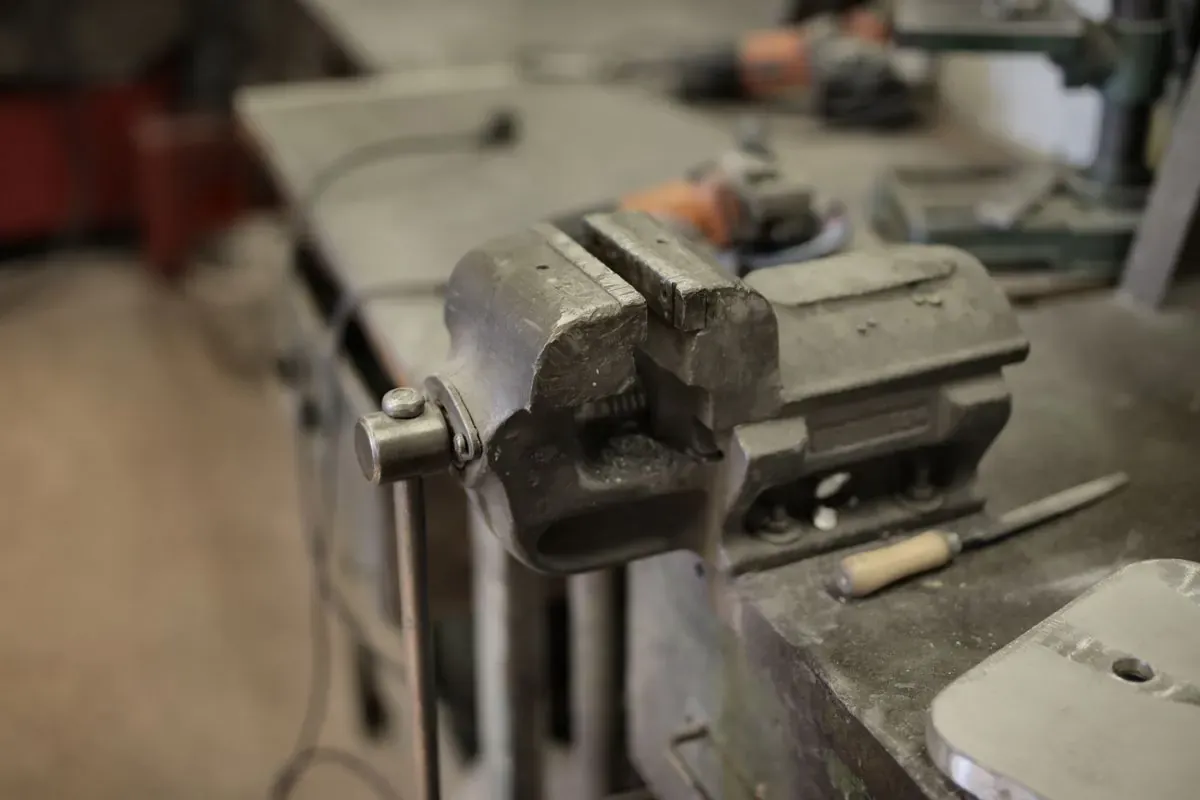
A garage inventory works best when you start with the tools and equipment that are hardest to replace or identify later. Create a Space for the garage, add items in small groups, and give each record enough detail that you would recognize it without opening every cabinet again.
You do not need to finish the whole garage in one session. Begin with power tools, larger equipment, and items with model or serial numbers. Then return for hand tools, hardware, and lower-priority supplies.
Set up a simple garage structure
In MovingBox, open Locations in the Home you want to organize and create a Space named “Garage.” Inside it, you can create smaller Spaces such as “Workbench” or “Storage cabinet.” Assign each item to the Space where you expect to look for it.
Use a Label for the one category or status that matters most to you, such as “Power tools,” “Lawn equipment,” or “Valuable.” Each item can have only one Label, so keep the system simple. If you later choose a new Label, it replaces the old one.
Start with items that need the most detail
Work through the garage in a consistent order: one shelf, cabinet, or wall section at a time. A practical first pass might include:
- Power tools, chargers, and tool cases
- Lawn and garden equipment
- Ladders, compressors, and shop equipment
- Specialized measuring tools
- Branded tools with visible model or serial numbers
For a single important item, use a clear photo in good lighting. Free includes one photo per item; choose the view that captures the most useful detail and enter any missing identifiers manually. With Pro, you can add a separate view of the model number or serial-number plate to the same item. MovingBox can use a photo to suggest item details, but review and correct the result before saving—especially names, values, and identifiers.
If an item is unusual, handmade, or hard to see clearly, add it manually instead. Manual entry is also useful when you already know the details and want a straightforward record.
Basic browsing and manual entry work offline. On a supported device running iOS 27, you can also use On Device under Settings → AI for single-item photo recognition without internet. Cloud analysis, multi-item photo batches, and video analysis need a connection. If Private Cloud Compute loses its connection during a single-item request, MovingBox retries on device when available.
Capture the details you will want later
Open each saved item to edit the information that matters for that tool or piece of equipment. Depending on the item, that can include its name, description, location, Label, notes, purchase information, or serial number.
For a tool set or equipment bundle, record the main item first, then make a brief note about the pieces that belong with it. This keeps the inventory useful without turning every socket or attachment into a separate project on day one.
MovingBox can provide an AI value estimate, but it is approximate. For a high-value, rare, antique, or limited-edition item, verify important details yourself and consider a professional valuation when one is needed.
Use group photos carefully
A photo of a shelf or workbench can be a useful way to make progress on several visible items at once. In MovingBox, multi-item photo batches are a Pro feature. They work best when items are not stacked or heavily overlapping.
After the app identifies a group, review every detected item. Keep the correct records, edit anything that needs attention, and remove false detections before saving. Add a dedicated single-item photo later for a tool whose condition, model, or identifying marks need a clearer record.
Finish with a quick review
Before you leave a garage section, check that every saved item has the right Space selected in its Location field and that the one Label you chose still makes sense. Then move to the next section on another day.
That small review step is what makes the inventory easier to use later: you can browse the Garage Space, sort items, and update a tool’s record when you replace it, move it, or learn a better identifier.
A simple first-session checklist
- Create a Garage Space in Locations.
- Choose one Label approach before adding items.
- Document five to ten important tools or equipment items.
- Photograph model and serial-number plates when they are visible.
- Review AI-filled details and correct important information.
- Add unusual items manually when a photo is not enough.
- Stop after one shelf, cabinet, or wall section—and pick up from there next time.
The goal is a clear starting record, not a perfect catalog. A garage inventory that you can continue updating is more useful than one that never gets started.
Frequently Asked Questions
Do I need Pro to inventory my tools?
No. Free supports manual entry and single-item photo analysis with one photo per item. Pro adds up to five photos per item and multi-item photo batches when you want several views or need to document a group of tools.
Should every small part have its own item record?
Start with the tools and equipment you need to identify individually. For a set, record the main item and use notes for its attachments or small parts. You can create separate records later when that detail would help you find or track them.
Where should I put a tool in the inventory?
Choose its physical Space or Box in the item’s Location field, such as Garage → Workbench. Use its one Label for a category, such as Power tools, so location and category serve different purposes.